How to Fix your Ink Problems
Essential calligraphy tips for beginners to solve those annoying ink problems once and for all
If you’ve tried your hand at using a dip pen and ink to create calligraphy chances are you’ve run into some inky problems.
From the dreaded ink blob to ink not flowing when you’ve literally just applied it - what gives?! - or feeling like you constantly have to re-dip because you keep running out of ink.
We’ll address all of these frustrations to get your ink flowing smoothly and help you continue learning calligraphy.
Remember - as with many things - regular practice and patience is key to doing calligraphy well so before you give up try these simple solutions first.
Use the right materials
If you’re going to have any luck getting to grips with calligraphy ink then using the right tools is a must.
Choosing the right ink is explained more below but take a look at this blog post for my suggestions of fail-safe calligraphy materials for beginners.
Let’s start with ink.
Using ink that’s specifically for calligraphy is the best place to start.
It’ll eliminate the potential problems of using that half bottle of ink you found deep within a drawer or that cheap ink set you bought to save money. ‘Buy cheap, buy twice’ applies here.
Ink that’s too thick or thin will quickly cause you problems by flowing too much or not at all.
Be aware: because ink is used with a nib that responds to pressure it means that everyone responds to ink differently - what may be too thin for one person will be just right for another so be patient with finding out what works for you.
Ink will also respond to the surface it’s used on, so where an ink might behave well on one paper doesn’t mean that it will on another.
But, to save you trouble, an all-round ink with an excellent consistency is the Winsor and Newton black, which is ideal for beginners and makes up part of my everyday toolkit. It’s also vegan which makes it a complete no-brainer.
How to change ink consistency
If the ink you have is too thick or too thin then there are some tricks to help your ink perform better.
To thin down an ink that’s too thick and not flowing add some distilled water (cold from a kettle) then give it a good stir and a shake. Add the water little by little, continually testing until it’s just right.
To thicken up a thin ink easily you can leave the lid off overnight so the water evaporates. Alternatively, add some gum arabic which you can get from art supply shops. Just add a small amount at a time and stir well until it’s the right consistency.
Metallic inks tend to be quite thick and often settle so give them a good stir and shake before use, adding some distilled water if needed
Change the paper to suit the ink
The grip or ‘tooth’ of the paper will affect how the ink reacts and can just as easily give you problems as take them away.
For general calligraphy practice I’d recommend a Rhodia pad or some Premium copier paper. Low quality paper will make ink feather and bleed as the fibres aren’t tightly bound together.
Not an expletive! Notice how the ink spreads out and bleeds on this copier paper
Where an ink flows perfectly on one paper doesn’t mean that it will on another.
Sometimes a textured paper will prevent the ink from flowing smoothly and you’ll need to loosen the ink consistency or try writing slower - or consider the imperfections as part of the aesthetic.
Some of the thin upstrokes are barely there due to the combination of thick ink and textured paper
Use the right nib for the job
Calligraphy nibs are another factor that will affect how ink behaves. Team that combination with different types of paper then you have even more variation.
For example, I love the blue pumpkin nib but because it holds a lot of ink and has quite a wide point ink can tend to go everywhere if I’m writing onto copier paper - a smaller pointier nib instead is easier to control.
The blue pumpkin on textured paper however is a dream!
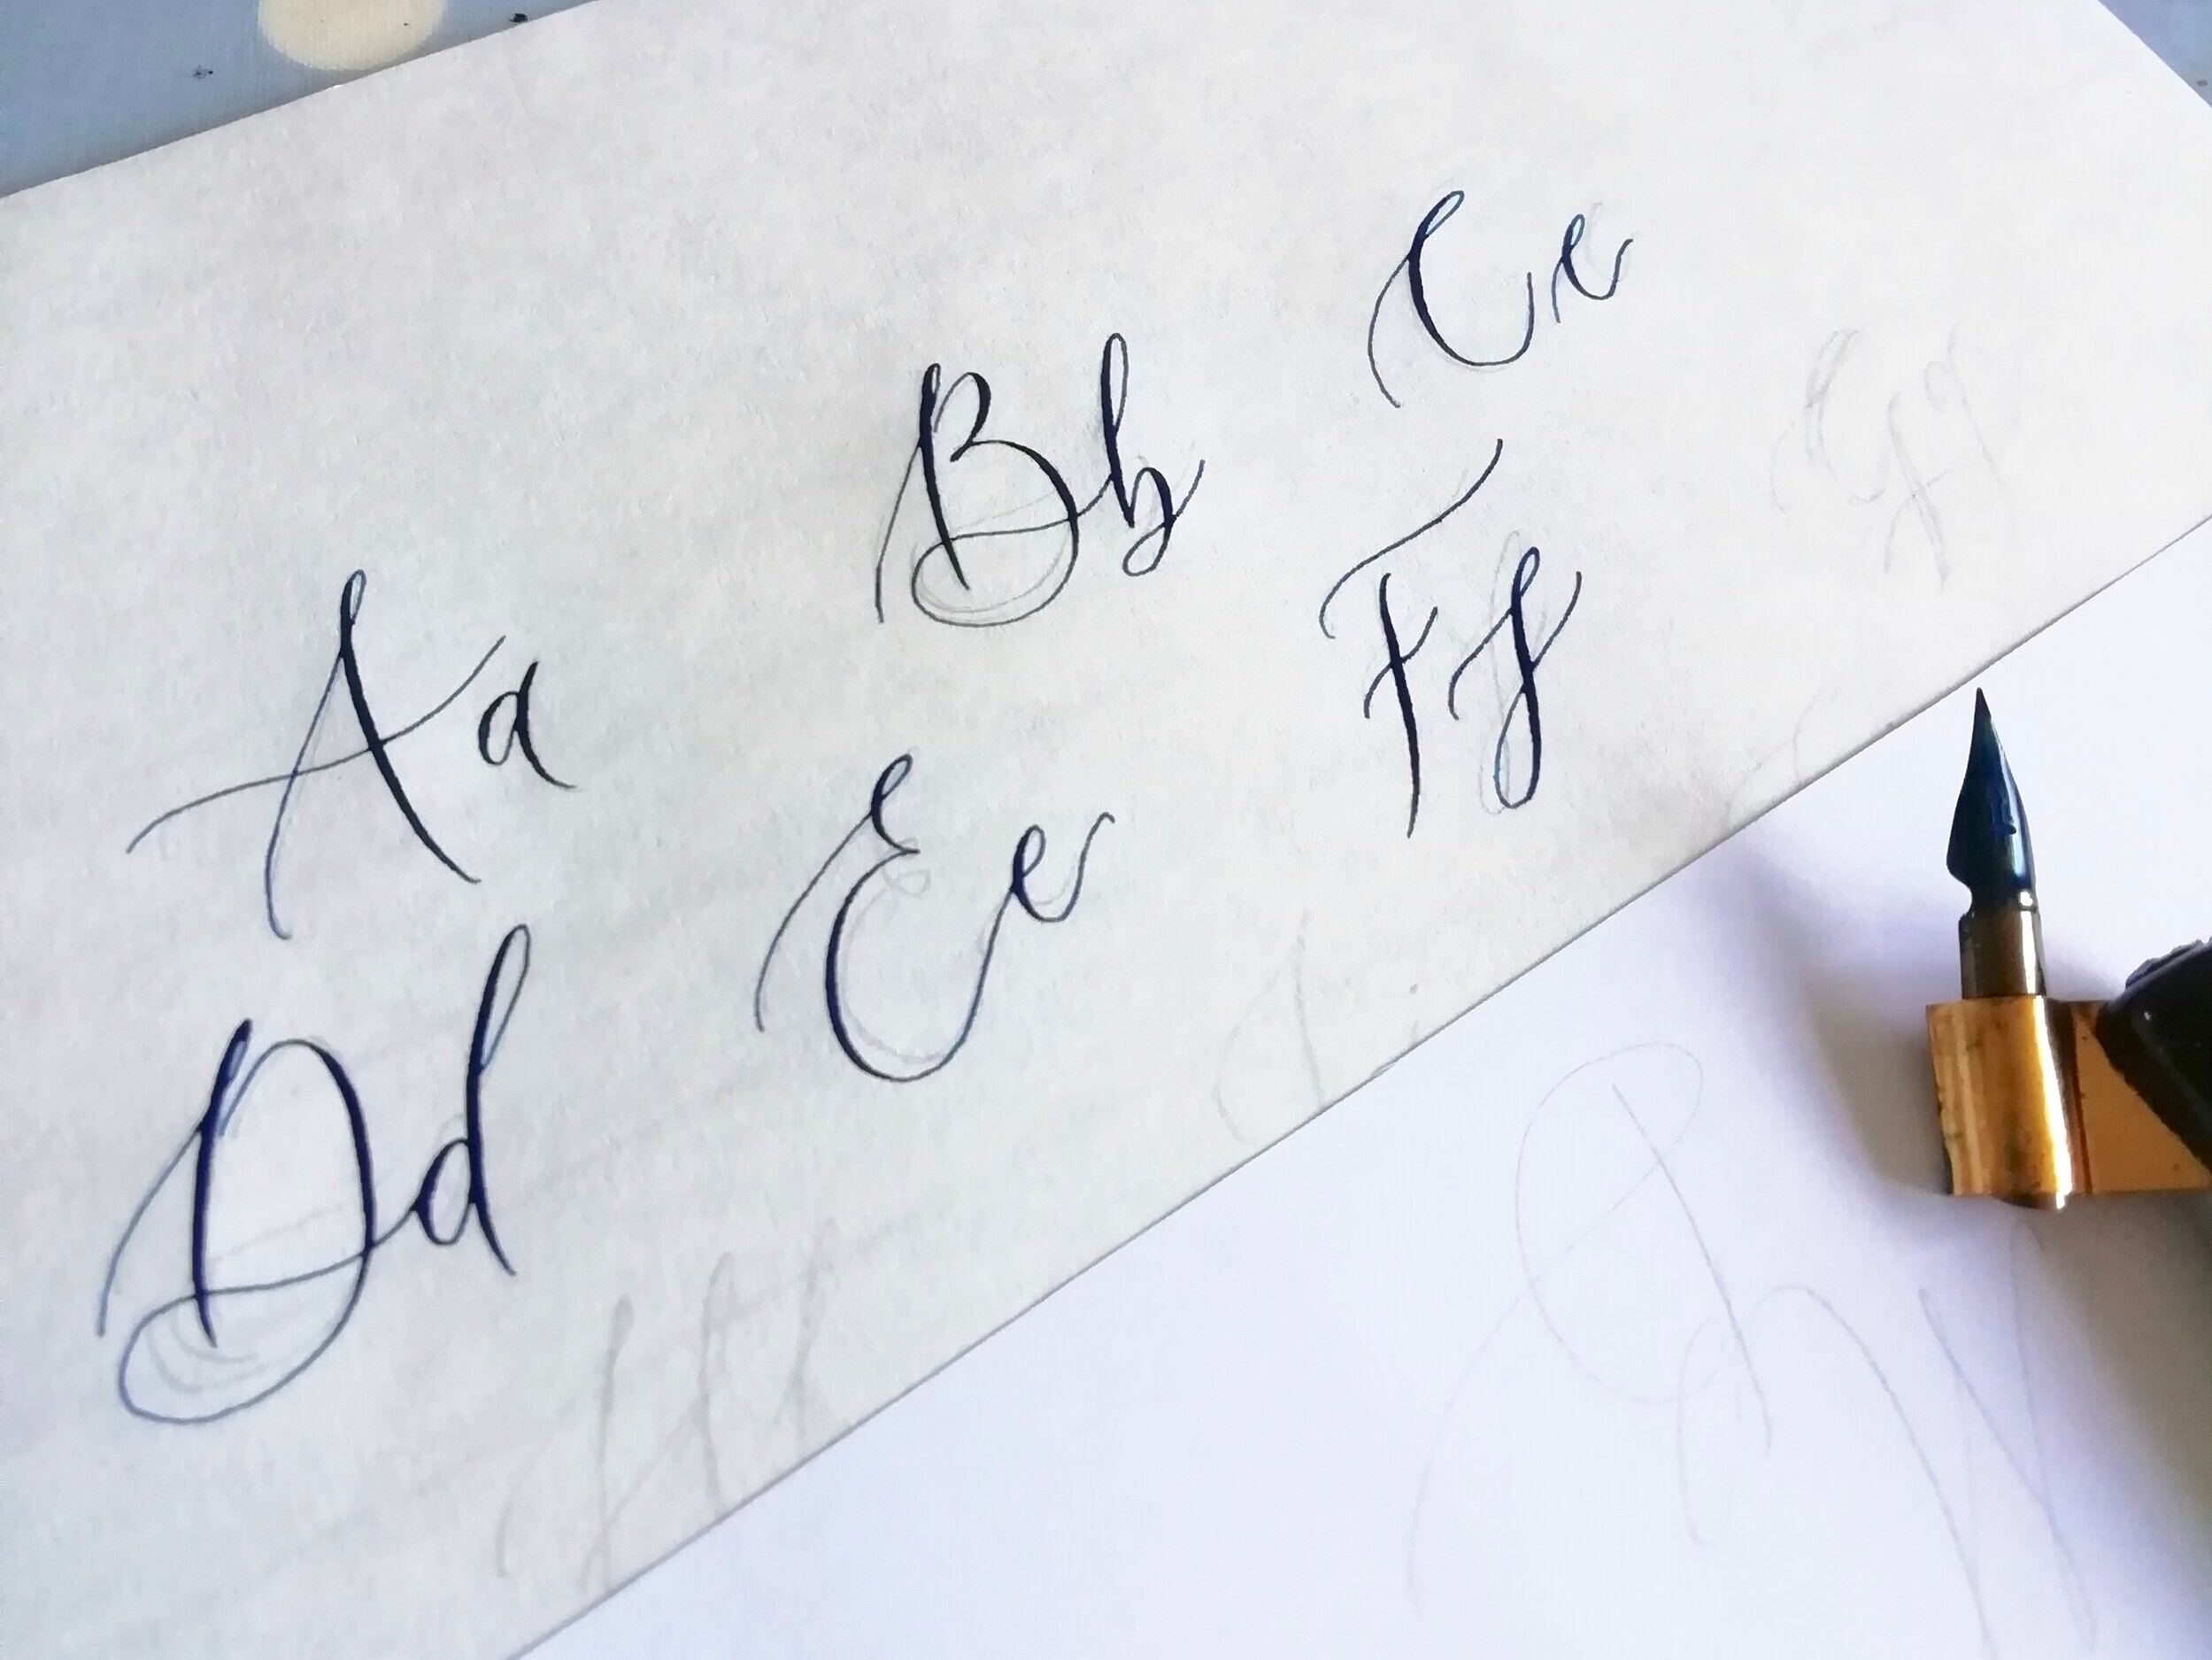
A small pointed nib teamed with smooth Rhodia paper work together hand in hand to hold the calligraphy ink well
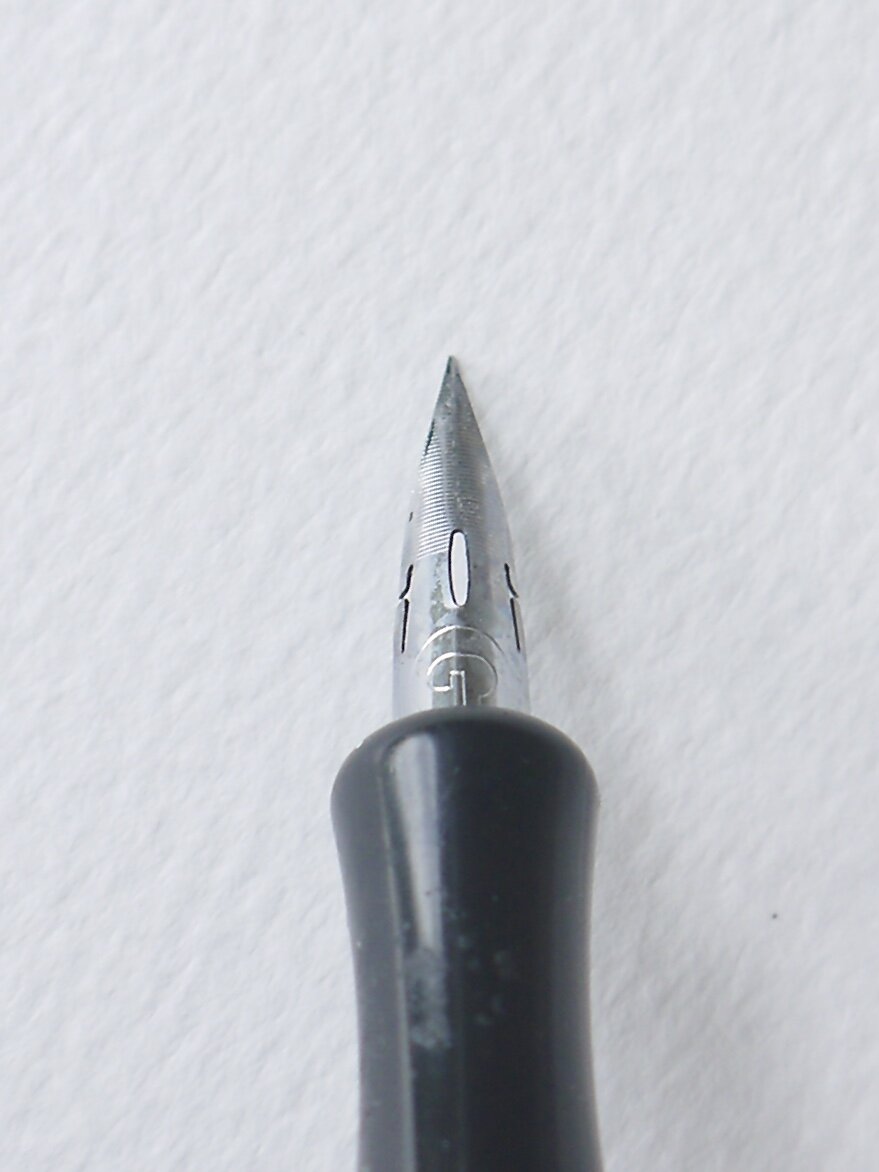
Keep your nib clean
Your new nibs will need preparing before you first use them to remove the protective coating applied by the manufacturer. Read this blog post to find out how to do this.
Remember to clean your calligraphy nib during the time you’re using it.
A jar of water, an old toothbrush and paper towel works wonders to remove any ink that’s sneakily dried on. It might not look dried on but giving your nib a clean every now and again can be the solution to your ink flow problems!
When you’re handling your nib the oils from your fingers will rub off onto the nib so those oils will need removing - gently scrub the nib with a toothbrush and water, adding some liquid soap if you need to.
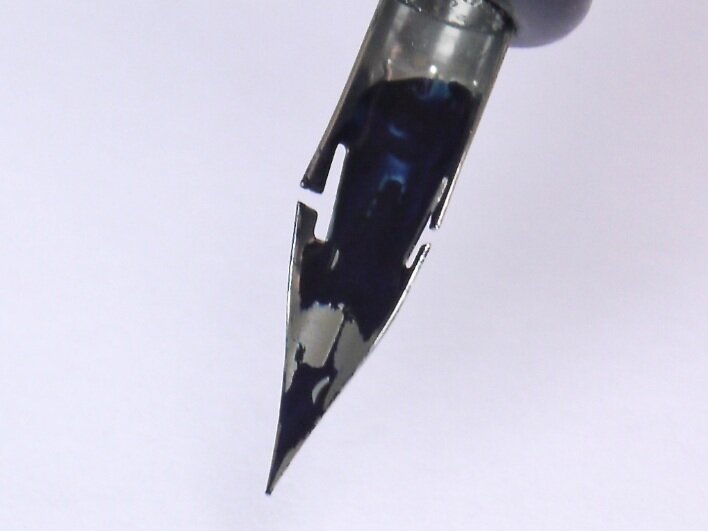
Using a cloth or paper towel to handle your nibs helps too. You’ll know when a nibs is clean as it won’t resist ink and will be fully coated with ink front and back.
Ink will resist oily patches on the nib so make sure it’s cleaned properly
How to apply ink
If you keep running out of ink quickly then one of the reasons might be that you haven’t applied enough ink.
This can quickly lead to ‘railroading’ where you’re only getting the outline and ink isn’t running through the tines.
You can also get railroading when the ink’s too thick and it isn’t flowing between the tines smoothly
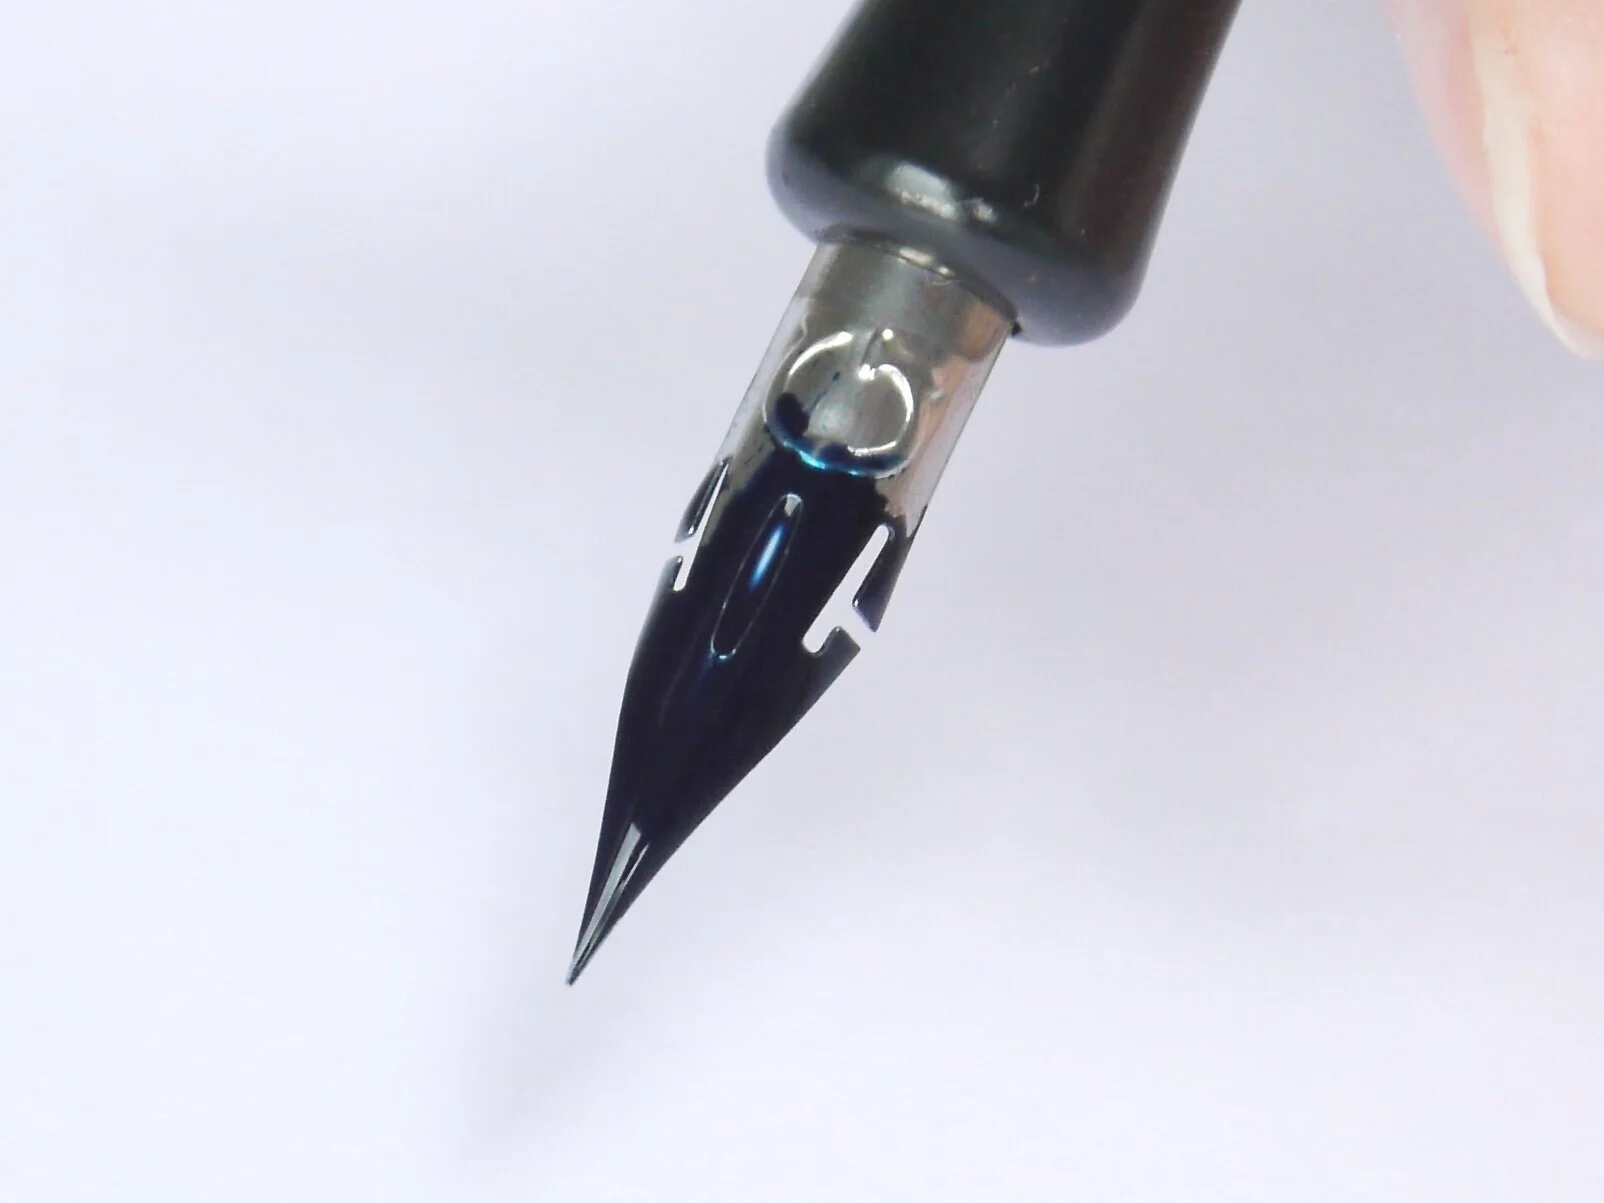
When you dip the nib into a jar make sure it goes past the eye hole - don’t be scared!
If you’re using a dropper or a paintbrush then cover the back and the front of the nib. Metallic inks will need a good stir and a shake before you use them.
You’re looking for an even coverage without any resistance patches - otherwise you’ll need to clean your nib again (see above).
The ink should be dipped to above the eye hole and the nib should be fully coated
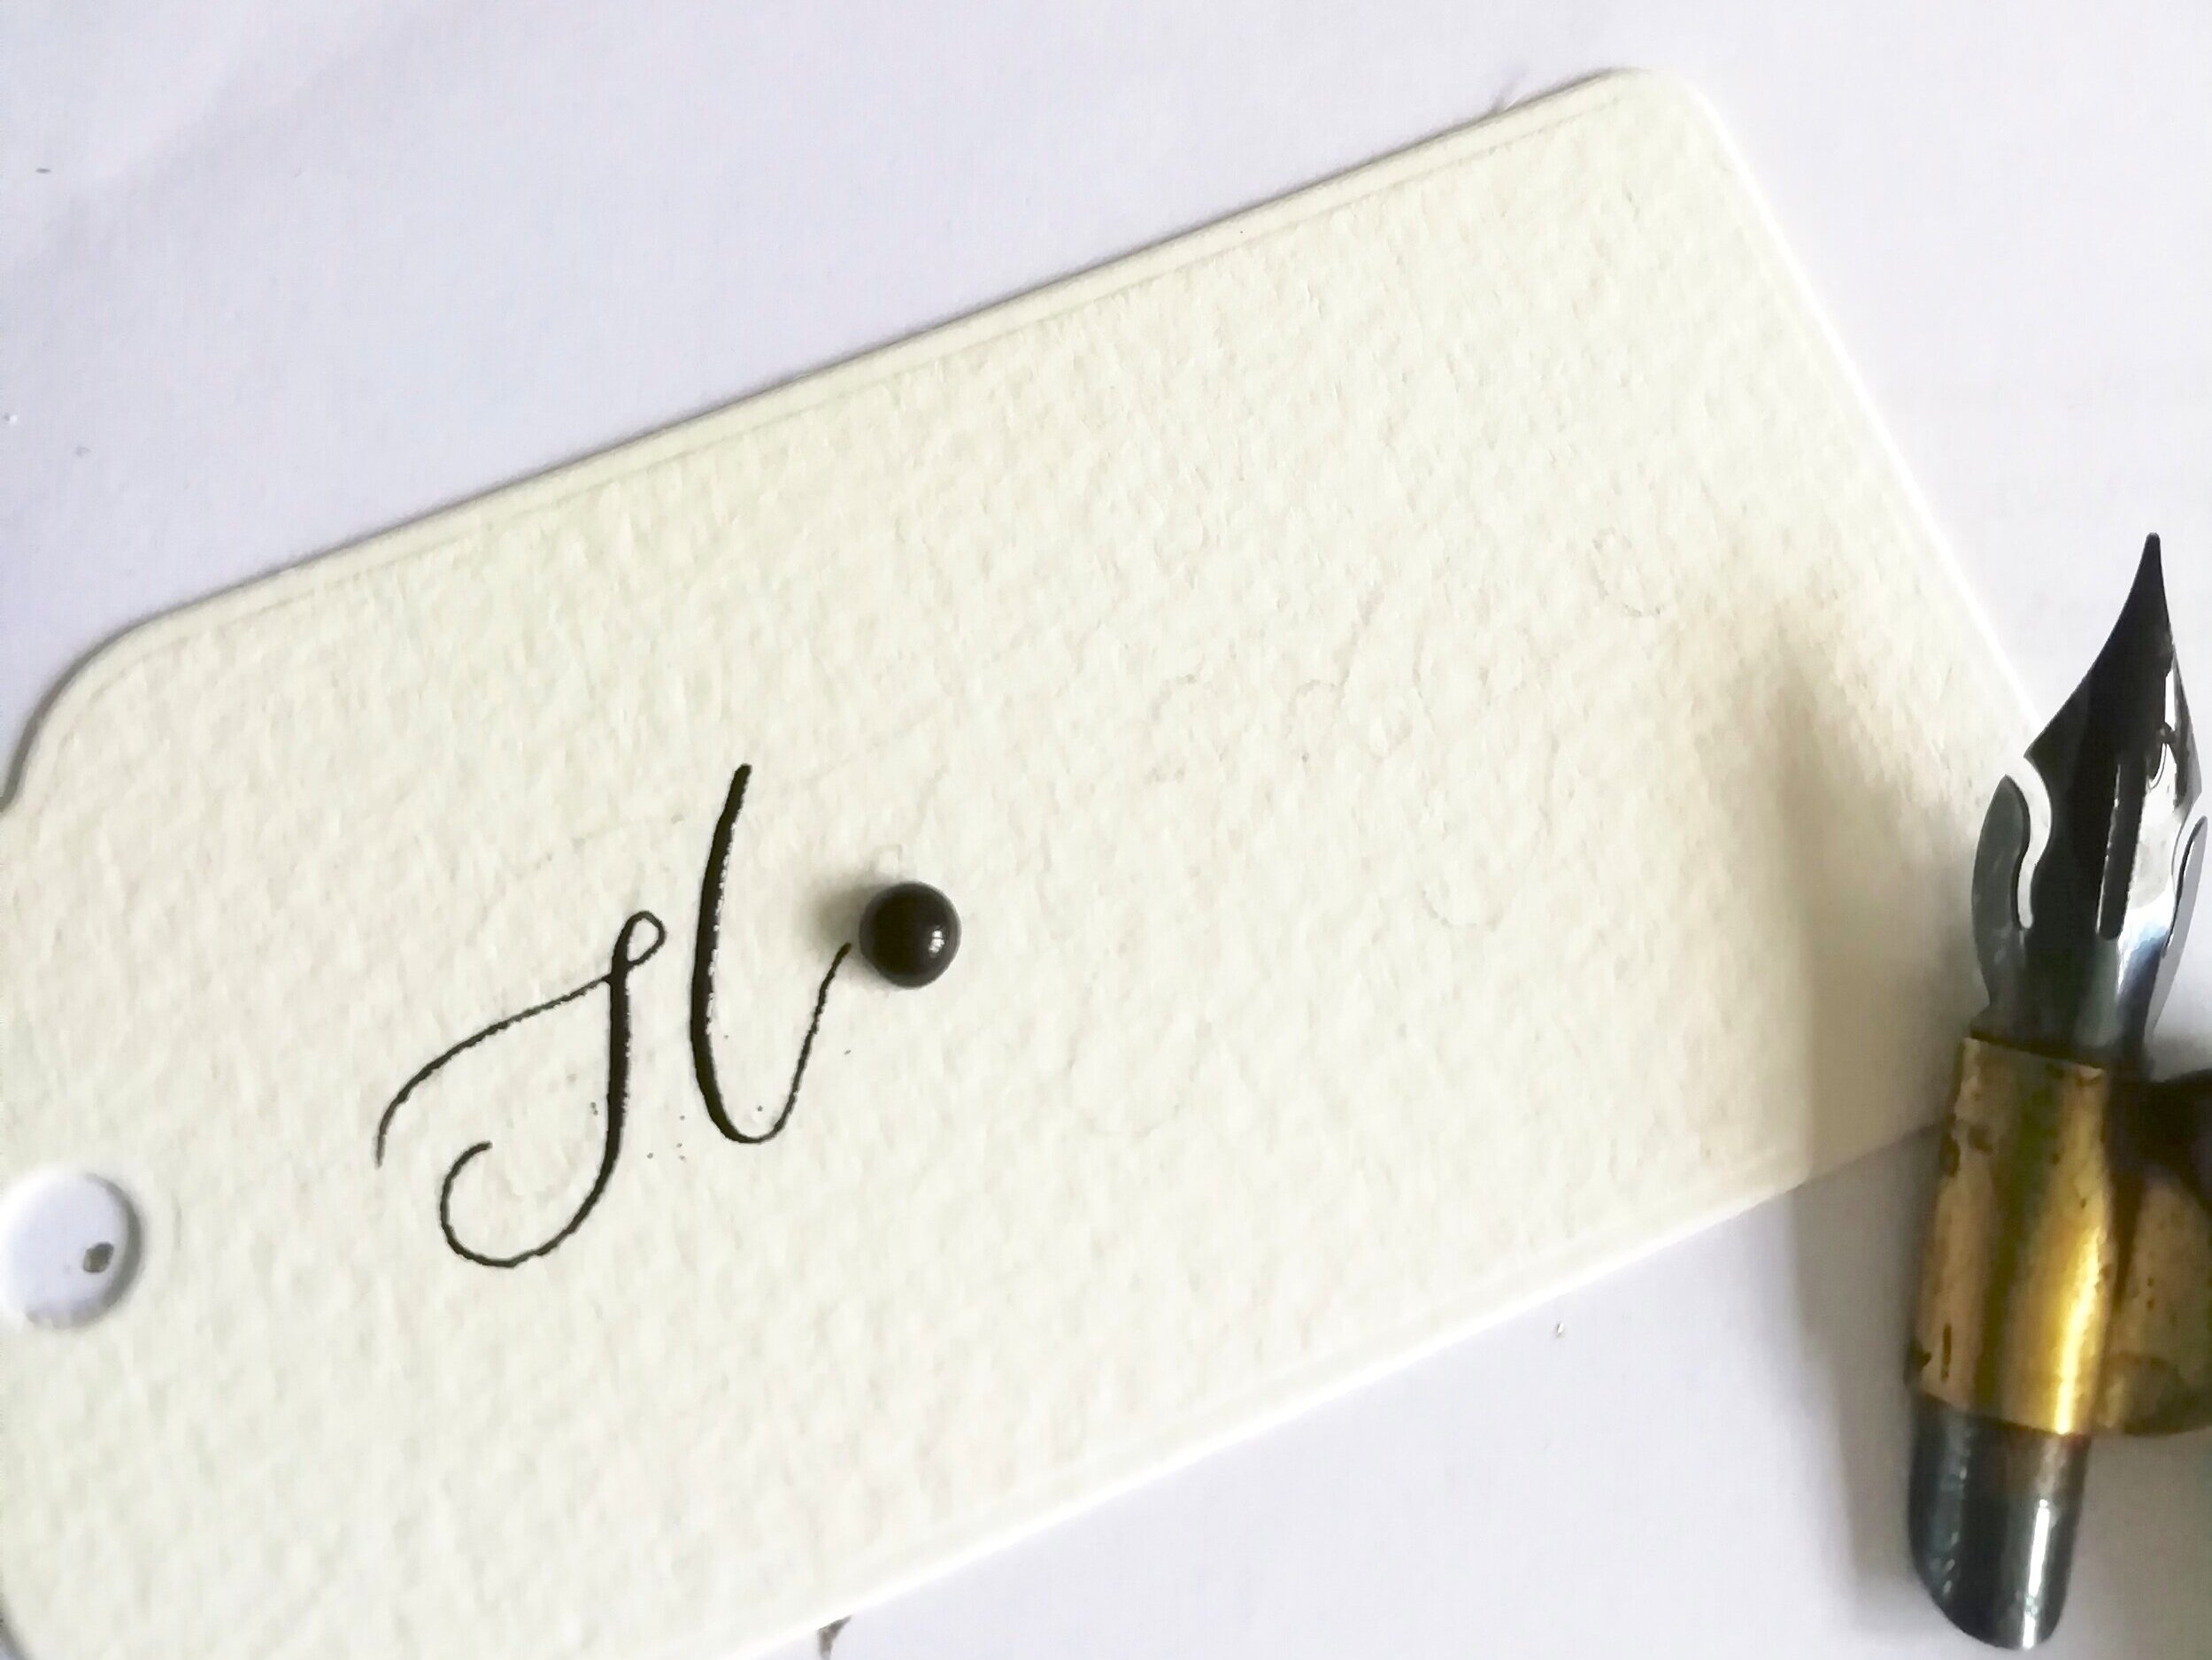
I always - okay, most of the time - wipe the excess ink off on the side of the jar then make a small dot on some scrap paper.
This gets rid of any excess ink that’s lurking and threatening to make a big blob on the page!
It also gets the ink flowing so that when you make contact with your paper it should flow smoothly.
Pen to paper angle
This doesn’t always feel natural for beginners as we’re used to handwriting by holding a pen any which way, but your pen angle makes a huge difference to your calligraphy.
The key is to keep the pen low to the paper.
Applying pressure when the pen angle is too high can resul in ink blobs, whereas keeping it low will slow down the flow.
Keeping the pen to paper angle at 45 degrees or lower will help to control the ink flow
Move the pen from the shoulder - this’ll keep the pen angle at a constant, keeping your hand and finger grip fixed.
The tines of the nib should make even contact with the paper by ensuring the eye of the nib is pointing directly up to the ceiling, not tilted to the side.
A tilted nib will result in uneven ink flow with more ink coming out from one side of the nib than the other as well as dragging that excess ink resulting in feathering.
A twisted nib angle will result in uneven ink flow
Picture an imaginary line coming out from the eye hole and touching the ceiling right above it.
The pen should always move in the direction you’re going in by holding the pen from below which’ll help keep the tine contact even. Using an oblique pen can make this process more comfortable for right-handed calligraphers.
Can you see how uneven the right-hand side of the t is? This is because the pen was writing the t coming from a side angle where it should’ve been underneath
Apply the right pressure
Getting the pressure right takes a lot of time and practice - and it’s different for every combination of ink, nib and paper.
When your first stroke ends up as a big blob of ink it can be off-putting, but if you’ve made sure you’re doing all of the things above and it’s still happening then it’s probably down to pressure.
Apply pressure too quickly then the ink will flow down the tines like a raging river and land on your page in one big blob.
This usually happens when the pen has just been loaded with ink so make sure you remove any excess ink (see above) and vary your pressure throughout - when you’re fully loaded with ink you won’t need to use as much pressure as you will when there’s less ink on the nib.
Applying too much pressure all at once can result with a huge blob of ink! This can also happen when the pen angle is too upright
Watch your speed
Thanks to basic physics, the thinner an ink is the faster it’ll flow so you’ll need to move quicker than you would with a thicker ink.
You’ll also need to adapt your speed depending on the paper surface.
Spending a lot of time hovering over paper that isn’t absorbent means the ink will have nowhere to go so will pool.
On the other hand, you’ll need to write slower on textured paper to give the ink time to settle into the texture.
Use a guard sheet
Ink will resist sticking to the paper where oils from your hand have rubbed off, so using a guard sheet - just a piece of clean paper for your hand to rest on and protect the paper will solve this problem for you in one easy step.
It will also help to keep your writing on a straight line if you’re not using guidelines.
Rest your hand on a guard sheet instead of the paper you’re working on to protect it
As you can see, getting your ink to behave isn’t exactly straight forward!
It’s down to a wide variety of factors so take it one step at a time.
If you’re just starting out with learning calligraphy then stick to using a reliable set of materials and work on getting into good writing habits before exploring other tools.
I hope these tips help to solve your ink problems and lead to happy calligraphing!
Let me know in the comments what’s worked for you, and feel free to pin the image so you can find these ink tips and tricks again.
Charlotte x
